Sky Dome + Lighting
With a lot of my scene done, I wanted to create a sky dome for the scene.
This would emulate the sky, but also give the scene a look as though it is actually set outside when rendered through a camera.
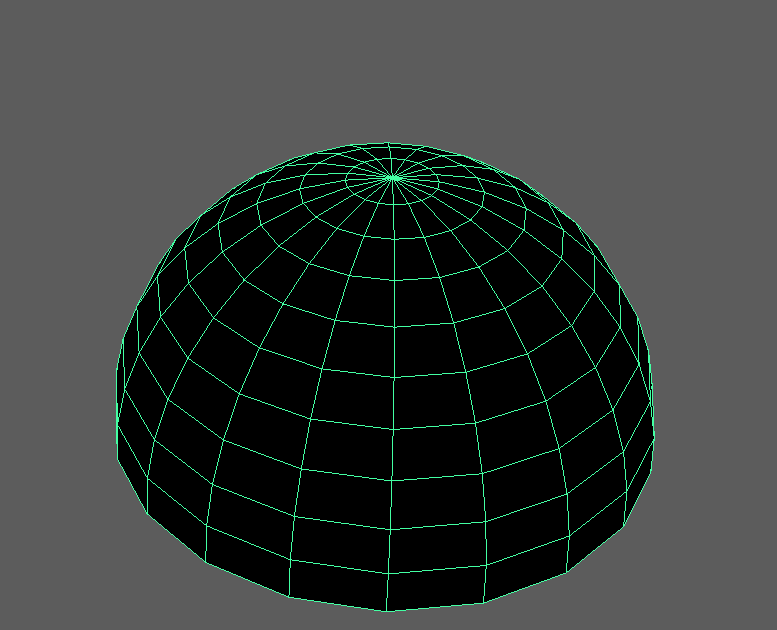
I did this by creating a sphere, then highlighting half of the faces and deleting them. I am left with a semi-sphere.
I also invert the faces, so they are facing inwards. Towards the scene.
I now find an image of the sky to texture my sphere.
https://blenderartists.org/forum/showthread.php?24038-Free-high-res-skymaps-(Massive-07-update!)
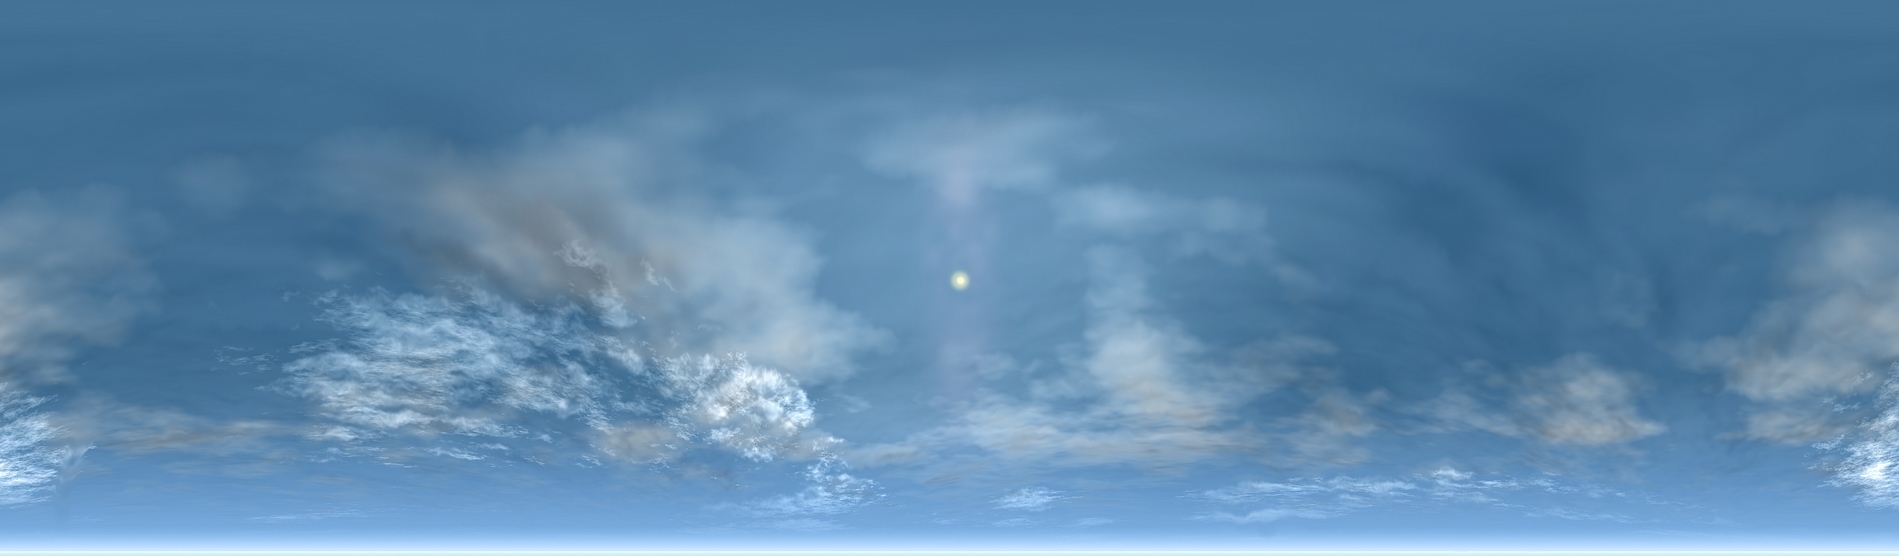
I chose this image to use. To use this image I have to create a spherical map of this texture.
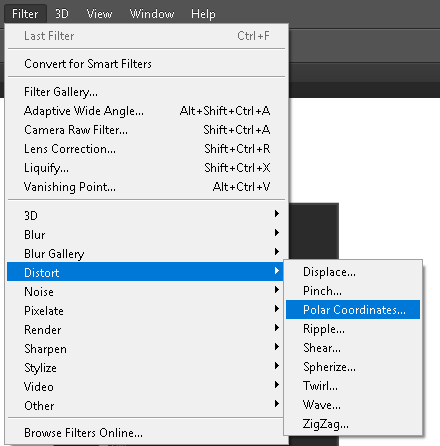
To do this, in Photoshop, I have to distort the map from its polar coordinates, which is in the filter options;
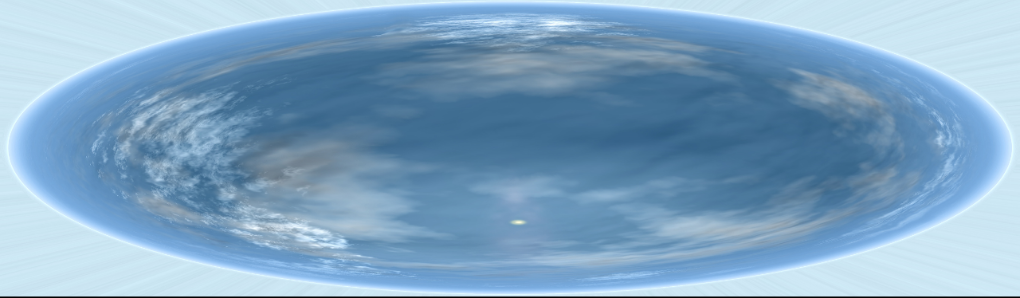
With the image distorted, I can apply this to the model, and now I have a sky texture.

Here is a snapshot of the scene with the skydome. To get the snapshot, I also needed to add light to the scene.
I did this by creating an ambient light and giving it a slightly beige tint to emulate sun glow.
This would emulate the sky, but also give the scene a look as though it is actually set outside when rendered through a camera.
I did this by creating a sphere, then highlighting half of the faces and deleting them. I am left with a semi-sphere.
I also invert the faces, so they are facing inwards. Towards the scene.
I now find an image of the sky to texture my sphere.
https://blenderartists.org/forum/showthread.php?24038-Free-high-res-skymaps-(Massive-07-update!)
I chose this image to use. To use this image I have to create a spherical map of this texture.
To do this, in Photoshop, I have to distort the map from its polar coordinates, which is in the filter options;
With the image distorted, I can apply this to the model, and now I have a sky texture.

Here is a snapshot of the scene with the skydome. To get the snapshot, I also needed to add light to the scene.
I did this by creating an ambient light and giving it a slightly beige tint to emulate sun glow.
Comments
Post a Comment